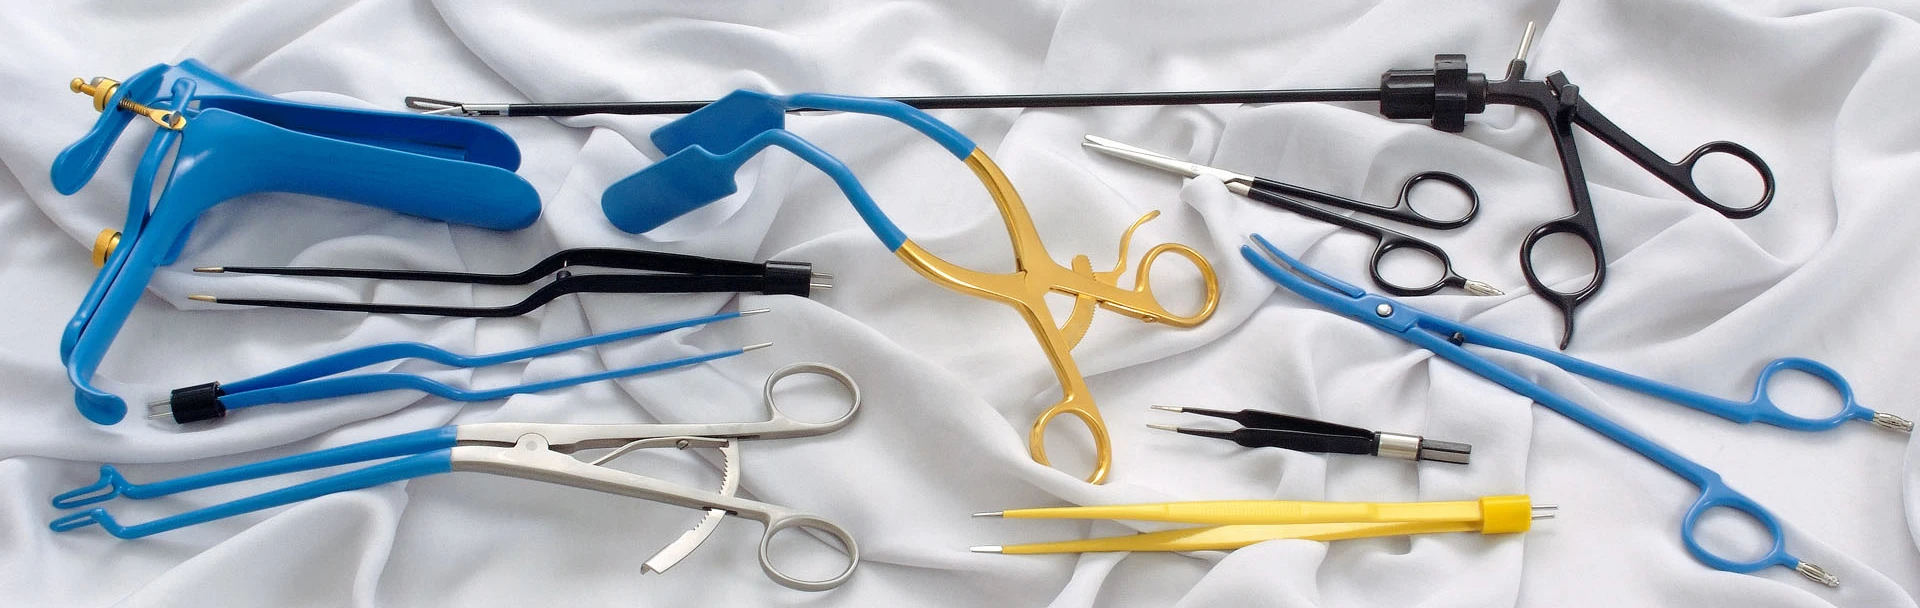
Manufacturing process of surgical instruments
1. RAW MATERIAL / STEEL
The foundation of high-quality surgical instruments lies in the selection of raw materials, particularly steel. We take pride in producing our own steel in-house using advanced furnace technology. This allows us to carefully control the composition and properties, ensuring exceptional strength and durability to meet our customers’ stringent requirements.
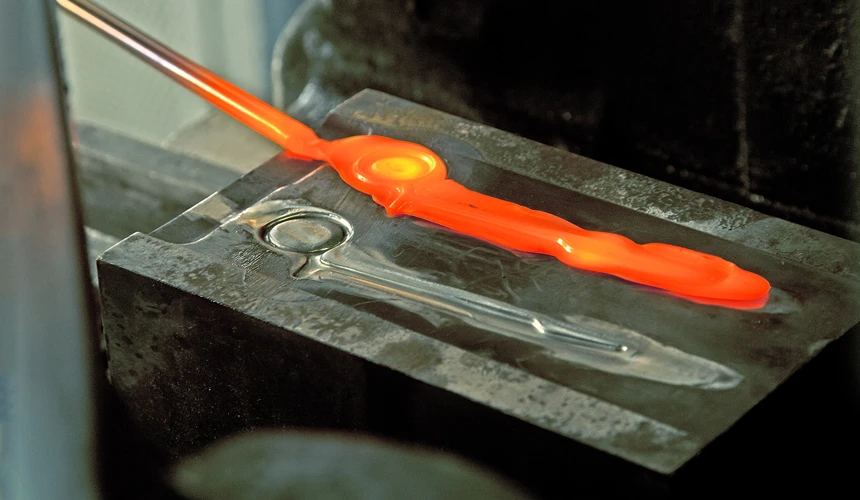
2. FORGING PROCESS
The raw material is first heated to a high temperature, making it pliable, and then shaped into the desired form using specialized machinery, such as a forging hammer or press. This initial stage establishes the basic outline of the surgical instrument.
The forging process entails molding metal through the application of heat and pressure, allowing it to be reshaped into the required form.
Here’s an overview of the typical steps involved in forging a surgical instrument:
-
Heating: The raw material, typically a stainless steel billet, is heated to a precise temperature to enhance its malleability.
-
Forming: The malleable billet is placed on a forging press, where it undergoes compressive forces that reshape it. This can be achieved through various techniques like open-die forging, closed-die forging, or impression-die forging.
-
Trimming: After achieving the desired shape, any excess material is trimmed away to finalize the instrument’s form.
-
Heat Treatment: The forged instrument undergoes heat treatment to enhance its strength, hardness, and other physical properties. This may include processes such as quenching, tempering, or annealing, tailored to the instrument’s specific needs.
The forging process is crucial in the production of surgical instruments, as it imparts specific mechanical properties that enhance their suitability for use. Instruments produced through forging are generally stronger, more durable, and exhibit superior performance compared to those made through alternative manufacturing methods.
3. FORGING INSPECTION
During the forging stage, each tool is thoroughly inspected to verify that there are no cracks and that none have been reshaped beyond acceptable limits. Additional quality checks are also performed on the raw instruments to identify any issues.
4. MACHINING
After the initial shape of the instrument is formed, it undergoes machining with specialized equipment like CNC machines. This process allows for the creation of intricate details on the instrument.
5. MILLING
Milling is essential for crafting precise surgical instruments. By utilizing advanced computer-controlled machines, we meticulously remove material from workpieces, achieving exceptional accuracy and consistency. This process allows us to create intricate shapes, slots and contours critical for instrument performance. With high-quality cutting tools, we ensure a smooth finish and maintain dimensional integrity. Our dedication to precision guarantees reliable and effective surgical instruments tailored for modern medical needs.
6. INSPECTION
Following the machining and milling processes, the instruments undergo another round of inspection to confirm that they adhere to the necessary specifications.
7. FILLING
Certain surgical instruments need filling or welding to achieve a smooth finish or to connect two components. VEOSURG INSTRUMENTS is equipped with specialized tools to perform these tasks as required.
8. FILLING INSPECTION
After the filling process, the instruments are subjected to another round of inspection to ensure the filling was executed properly and to check for any defects.
9. BINDING AND TEMPERING
Binding and tempering are essential processes for enhancing the durability and hardness of surgical instruments. Below is the Standard Operating Procedure for VEOSURG INSTRUMENTS regarding these processes:
- Heat Treatment: The forged instrument is heated to a designated temperature to improve its strength and hardness. This may involve techniques such as quenching, tempering, or annealing, depending on the specific needs of the instrument.
- Quenching: After heating, the instrument is rapidly cooled by immersing it in a quenching medium, such as oil or water. This step hardens the instrument by rapidly altering the metal’s microstructure.
- Tempering: The hardened instrument is then reheated to a lower temperature, which helps relieve internal stresses created during quenching. This process enhances the instrument’s toughness and ductility.
- Inspection: Finally, the instrument undergoes a thorough inspection to ensure it meets the desired specifications and quality standards.
The binding and tempering processes are vital in the production of surgical instruments, as they provide the mechanical properties necessary for their intended use. The specific methods of heat treatment and quenching are tailored to the material, shape, and purpose of each instrument.
10. PIN FITTING AND SETTING
Pin fitting and setting are crucial steps in the assembly of instruments like scissors and forceps, ensuring precise alignment and smooth movement. This process involves inserting a pin to connect the two parts, allowing for proper functioning and stability during use.
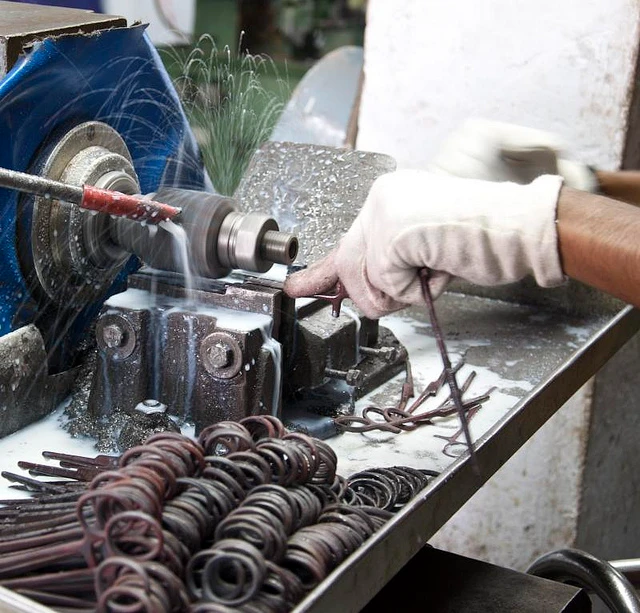
11. GRINDING / SEMI-FINISHING
After tempering, the instruments are grinded to achieve a semi finished surface. VEOSURG INSTRUMENTS employs specialized grinding equipment and techniques to ensure a uniform appearance across all their instruments.
11. PASSIVATION
Passivation of surgical instruments is a process that enhances their resistance to corrosion and oxidation by treating the metal surfaces. This typically involves using an acid solution to eliminate impurities and encourage the formation of a protective oxide layer. Consequently, passivated instruments are more durable and safer for use in medical environments.
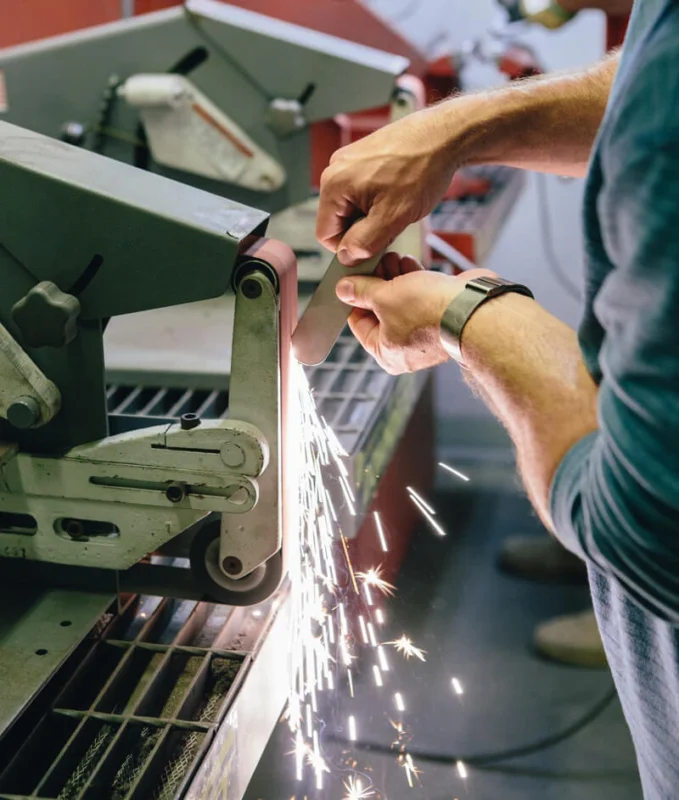
13. POLISHING / INSTRUMENT FINISHING
Polishing surgical instruments is a critical step that involves smoothing their surfaces to achieve a shiny, reflective finish. This process not only enhances the aesthetic appearance but also reduces the risk of bacterial adhesion and improves ease of cleaning. Effective polishing contributes to the overall performance and longevity of the instruments in clinical settings.
14. Q. A INSPECTION 2%
After polishing, 2% of the instruments are randomly chosen for inspection to verify that they comply with the necessary quality standards.
15. ULTRASONIC CLEANING
The instruments are subsequently cleaned with ultrasonic cleaning machines, which utilize high-frequency sound waves to eliminate dirt, oil, and debris.
16. VISUAL INSPECTION
Visual checks involve inspectors examining the instruments for any cuts, marks, or scratches that could affect their functionality and safety. This thorough assessment ensures that any surface defects are identified and addressed before the instruments are approved for use. Such attention to detail is crucial in maintaining high-quality standards in surgical tools.
17. LUBRICATION
After cleaning, the instruments are lubricated to facilitate smooth operation and protect against corrosion.
18. ETCHING / LASER MAEKING
Etching and laser marking begin with cleaning the instruments for a smooth surface. Precision marking is then applied to engrave identification numbers or logos, ensuring deep, durable markings that can withstand sterilization. Finally, a quality check confirms the clarity and accuracy of the engravings, ensuring compliance with industry standards.
19. Q. A. INSPECTION: 4%
During the quality assurance inspection, 4% of all instruments are evaluated by the Quality Achievement Directors. Samples are selected randomly and examined meticulously, with even the slightest deviation from quality standards potentially leading to the rejection of the entire batch.
20. PACKING
In this stage, surgical instruments are packed for shipment. Each box holds 100 pieces, and ten boxes are placed in a carton. The cartons must be sturdy to protect the instruments during transit to the customer’s location. Instruments are organized by size and type, and each box is clearly labeled for easy identification. The labels include item codes and detailed descriptions, ensuring that customers can quickly locate the instruments they need within the cartons. Proper storage conditions are maintained throughout the packing process.
21. LABELING
Labels are put in this process, if putting labels is required in the customer service from us.
22. DELIVERY
In this process goods shipped to the customer given address.